This is the version with
DVI graphics card.
|
|
(Click
thumbnail) |
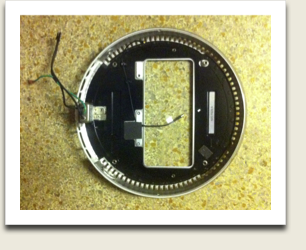
CPU (logic board) is already out. Nearly there. Strip
the base down to the bare metal, more than this picture.
Carefully remove theIEC 320 power connector and save all screws. Remove
the antenna and the plastic cover.
|
|
 |
The new motherboard is too long so we need a back
porch. You need a decent bandsaw for this step. All we're going to do
is saw out around the existing hole and extend that cutout to the rear
edge. Mark first and then saw this in one cut each side so that you
save the centre cutout material in one piece.
The cutout should be about nnn wide. Drawing here.
|
|
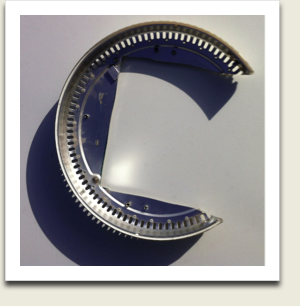 |
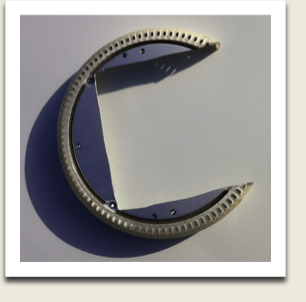
The cutout doesn't have to be exact (see my wobbly saw
lines) because we're going to glue it on top of the basement walls. Did
I mention that the new motherboard with low-profile PCI graphics card
is still too tall? That's right, some of it has to go downstairs.
Even if you are using a motherboard with DVI I suggest a basement box.
It allows for a larger CPU fan and also a PCI card.
|
|
 |
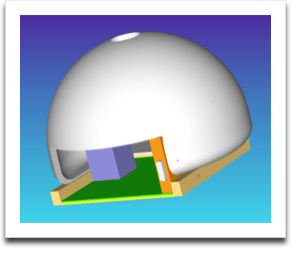
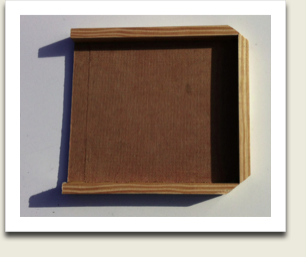
The crude basement box in all its glory. The sides are
1/2" by 3/4" wood glued onto 1/8" thick hardboard. If you live in
metricland I'm sure you can find something that works. Drawing here.
|
|
 |
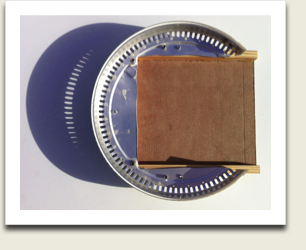
Here's a top view of the base on top of the basement
box.
|
|
 |
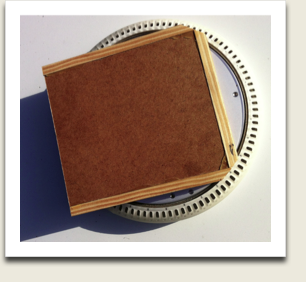
And here it is from underneath.
|
|
 |
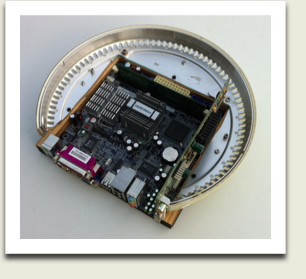
The
box is held in with three wood screws, and here the new Foxconn Atom
motherboard is in the basement.
|
|
 |
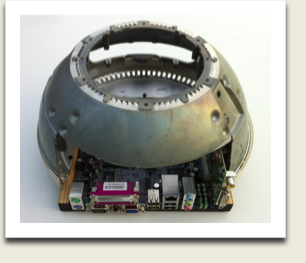
Now to see if the inner
metal dome fits with the new motherboard in place. As you see, I was
very generous, both with the depth of the basement and the height of
the cutout. If you are using a DVI motherboard the basement can be
shallower and the cutout smaller.
|
|
 |
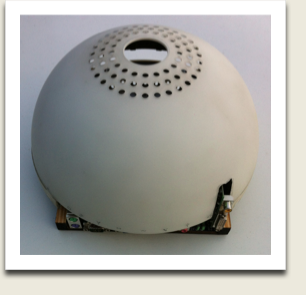
The notch in the
plastic cover is to clear the graphics card and again will not
necessary with a DVI motherboard. The DVI connector still has to have
the iMac video adapter fitted, but first I'm going to look at wiring
directly to the graphics card.
|
|
 |
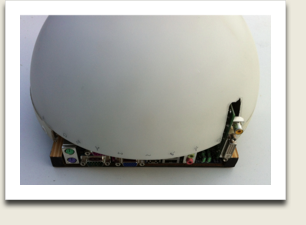
Closeup showing the
motherboard connectors. Somehow those ugly connectors have to be
boxed in. The next major puzzle is locating the mickey mouse AC input
connector.
|
|
 |


